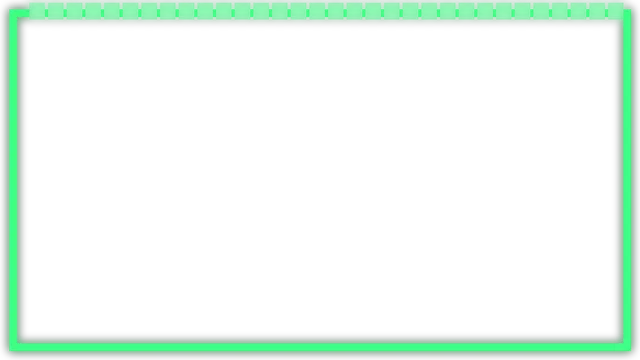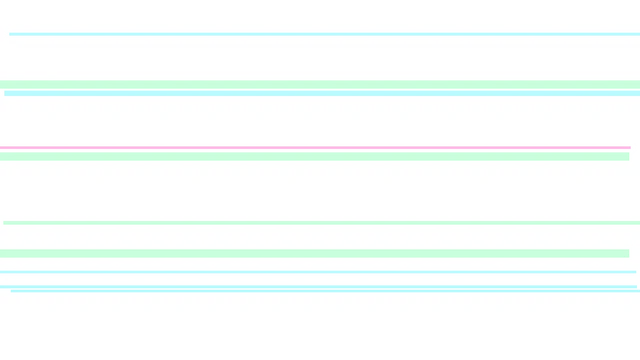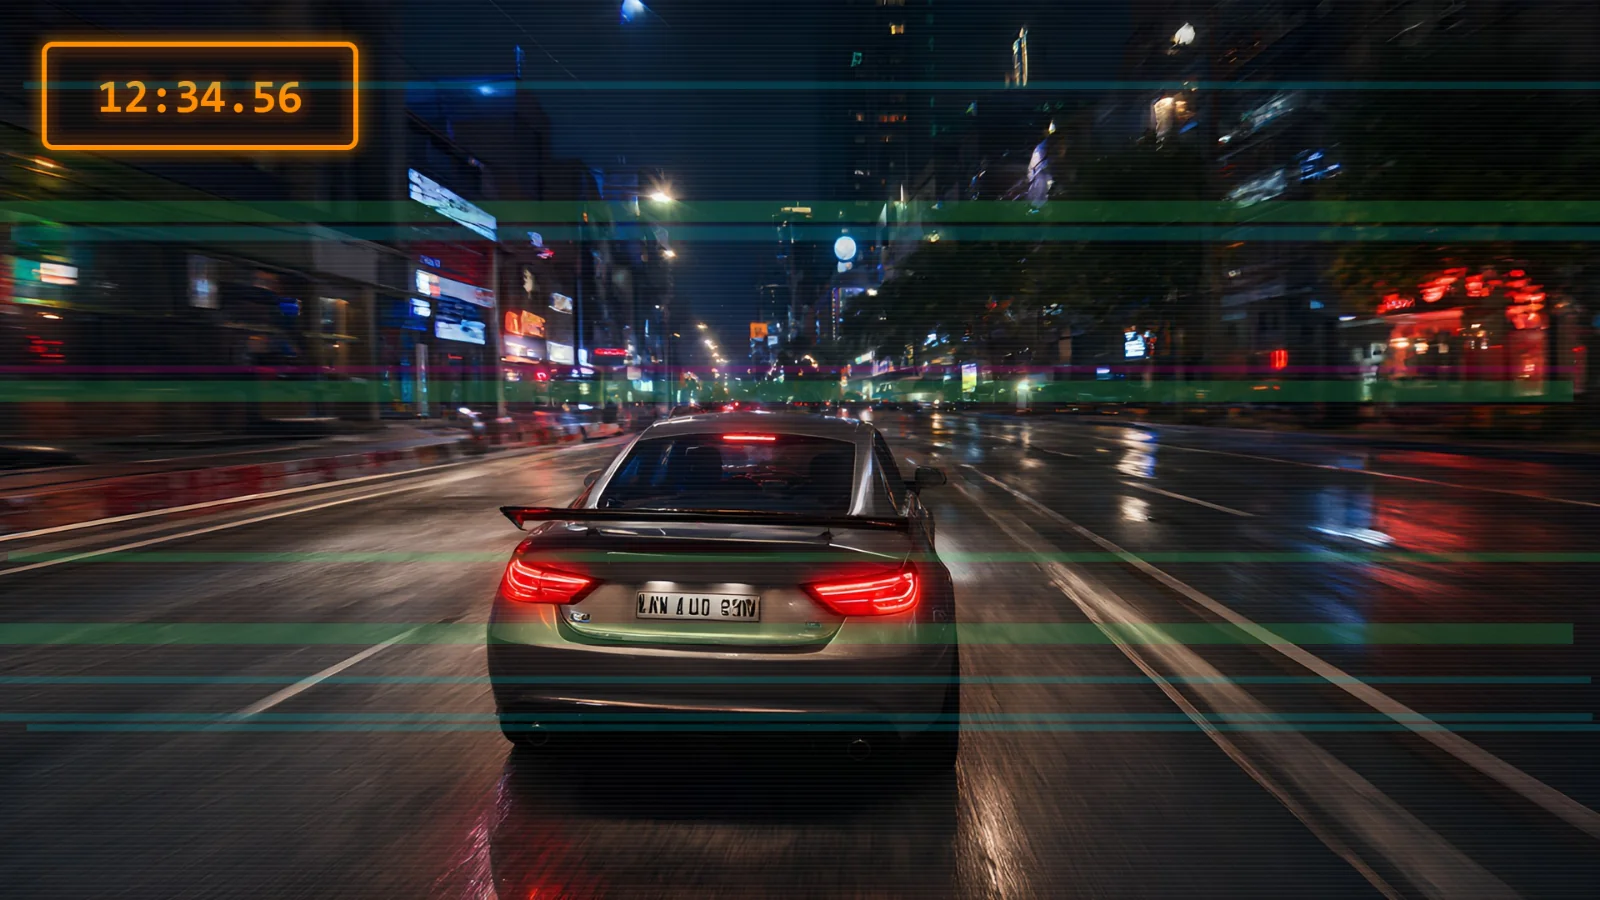
Adding a HUD frame, an overlay effect or a subscribe button to your gaming video in Premiere Pro takes a few minutes. HUD Drop's PNGs are transparent, so your gameplay shows through wherever the art is empty. Adobe's help pages now call the app Adobe Premiere; it's the same program, and the steps below follow Adobe's current documentation.
Before you start
- Premiere Pro (Adobe Premiere), a paid Adobe app with a free trial. Prefer free? See the DaVinci Resolve and CapCut guides.
- A sequence with your gameplay. HUD Drop's frames and overlays are 1920×1080, so a 1080p sequence fits them exactly.
- The PNGs from HUD Drop's free HUD Frames, Overlays and Subscribe Buttons.
1. Import the PNGs
Choose File › Import (Ctrl+I, or Cmd+I on a Mac) and pick the PNGs, or drag them from a folder into the Project panel. Premiere keeps their transparency.
2. Put the frame on the track above your gameplay
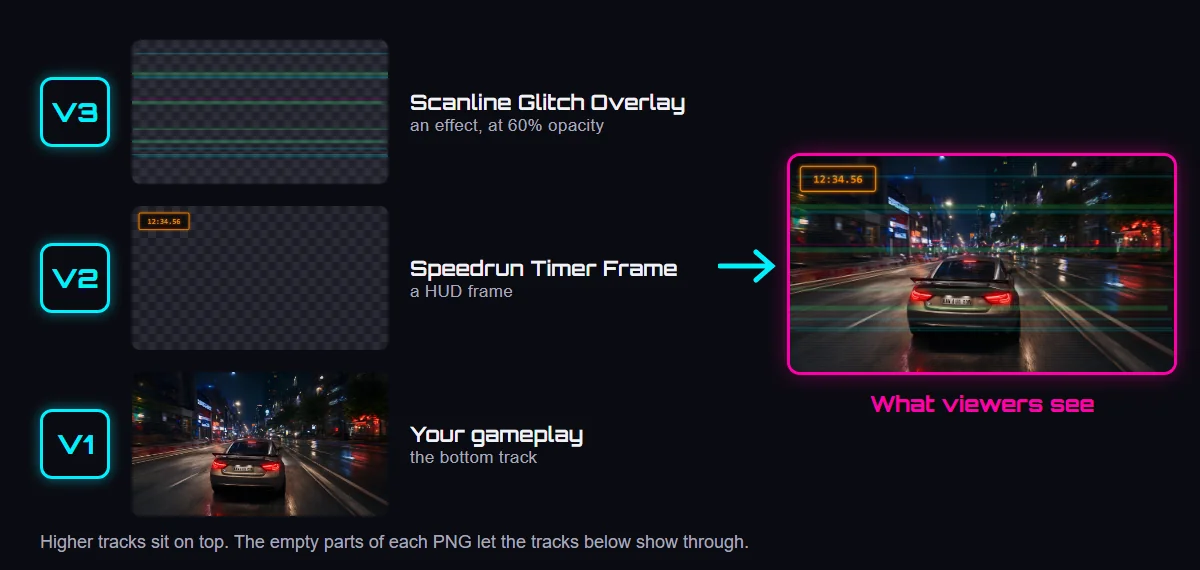
Keep your gameplay on V1 and drag the HUD frame onto V2, right above it. Higher video tracks sit on top, so the frame covers your gameplay, and an effect overlay on V3 goes over both.
3. Make it as long as your clip
A still image lands on the timeline as a short clip. Hover over its right edge until the trim cursor appears, then drag it to the end of your gameplay.
4. Check the fit
In a 1080p sequence a HUD Drop frame fits exactly. In a 4K sequence, or if it looks too small or too big, select the clip and click Fill frame in the Properties panel, or right-click it and choose Set To Frame Size. To have Premiere do this for every import, set Preferences › Media › Default Media Scaling to Scale to frame size.
5. Soften effect overlays
Effects like rain, VHS or film grain can be strong at full strength. Select the overlay clip and lower Opacity in the Properties panel to around 40–70%. The same control is in Effect Controls › Opacity.
6. Add a subscribe button
Drag the button onto a track above the others, at the moment you want it to appear. With it selected, lower Scale and change Position in the Properties panel to put it in a corner, then drag the clip's right edge to shorten it to a few seconds.
To fade it in, open the Effects panel, go to Video Transitions › Dissolve and drag Cross Dissolve onto the start of the button's clip; drag another onto its end to fade it out. Avoid Dip to Black here: on the first or last clip it also darkens the tracks below.
7. Vertical Shorts and Reels
For a vertical video, choose File › New › Sequence, open the Settings tab, and set the Frame Size to 1080 by 1920. HUD Drop's Vertical Shorts Frame is 1080×1920, so it fits that sequence exactly: put it on the track above your gameplay.
8. Export
Select your sequence and choose File › Export › Media (Ctrl+M, or Cmd+M on a Mac). Pick H.264, which Adobe recommends for online video, and the Match Source – Adaptive High Bitrate preset, then click Export. You can also choose YouTube as the destination and upload straight from Premiere.
Common questions
Is it Premiere Pro or Adobe Premiere?
The same app. Adobe's current help pages call it Adobe Premiere, and most people still search for Premiere Pro.
Is there a free way to do this?
Yes. DaVinci Resolve and CapCut are free and work the same way: the PNG goes on a track above your gameplay.
Can I use HUD Drop assets in monetized videos?
Yes. They're free for monetized videos, streams and thumbnails, with no credit needed. See the license.
Why is my PNG's background black?
The image you imported isn't transparent. HUD Drop's PNGs are: download the PNG from the asset's page rather than saving a preview or a search result.