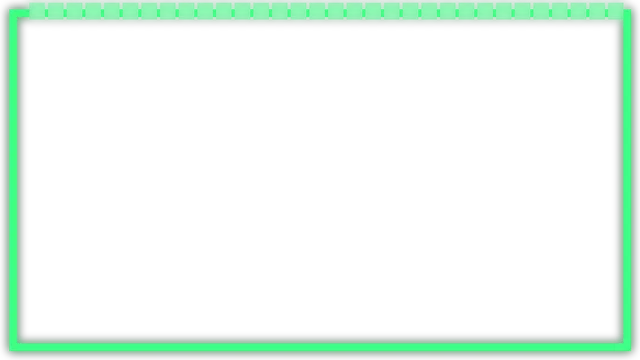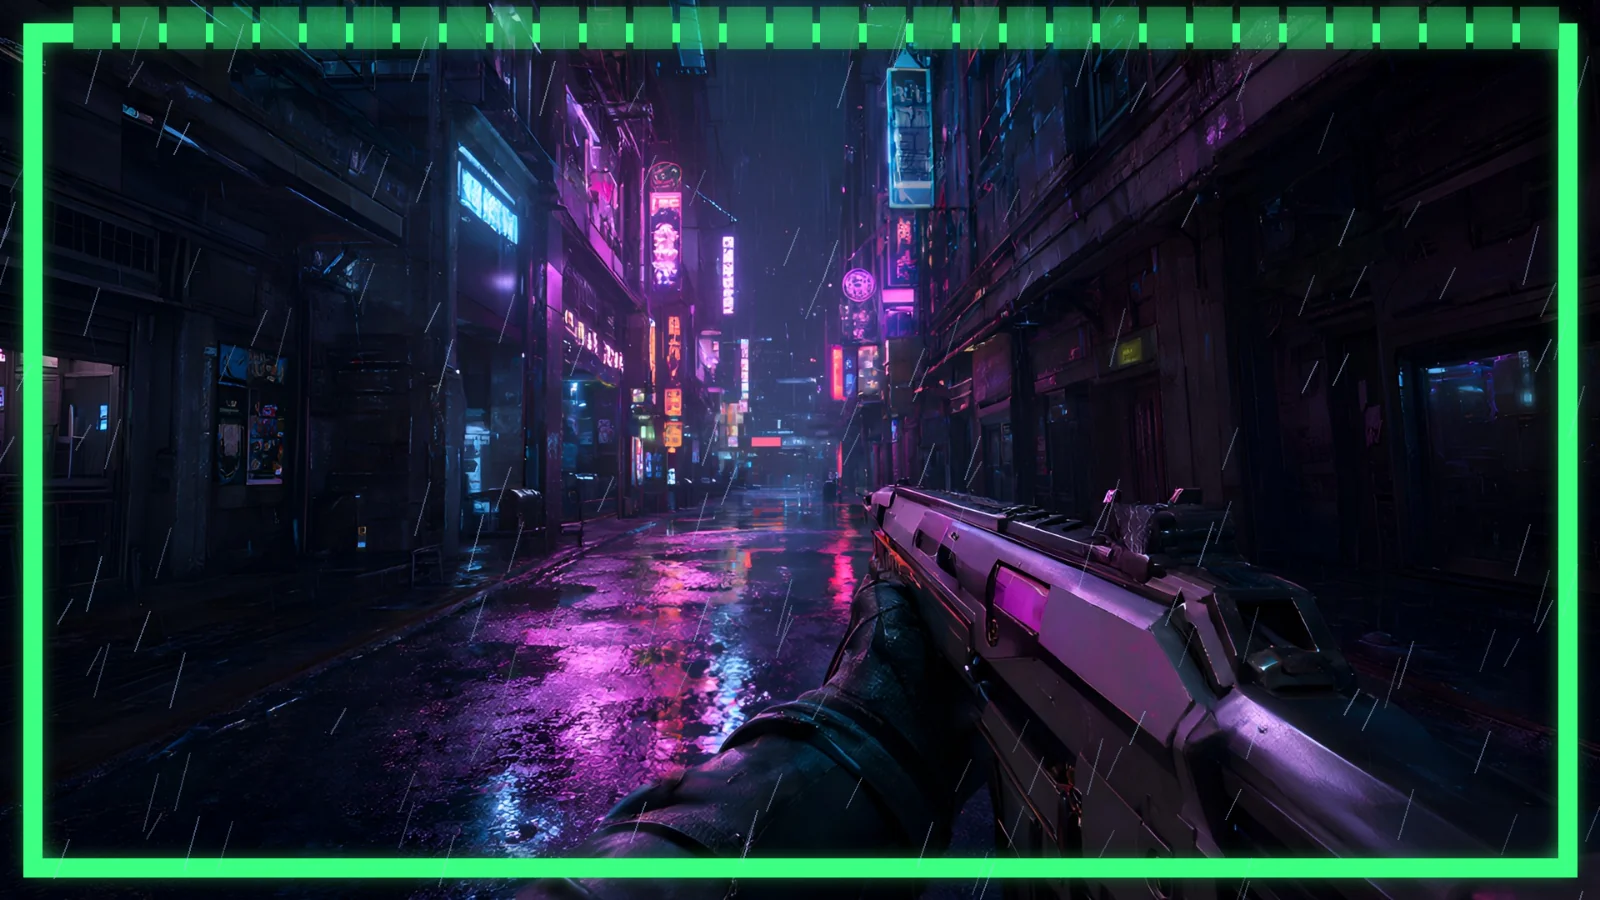
Adding a HUD frame or an overlay effect to your gaming video takes about two minutes in DaVinci Resolve 21, and the free version does everything here. HUD Drop's frames and overlays are transparent PNGs, so your gameplay shows through wherever the art is empty.
Before you start
- DaVinci Resolve 21, free or Studio.
- A HUD frame or an overlay from HUD Drop's free HUD Frames and Overlays: transparent 1920×1080 PNGs.
- A timeline with your gameplay clip. 1080p and 4K both work.
1. Import the PNGs into the Media Pool
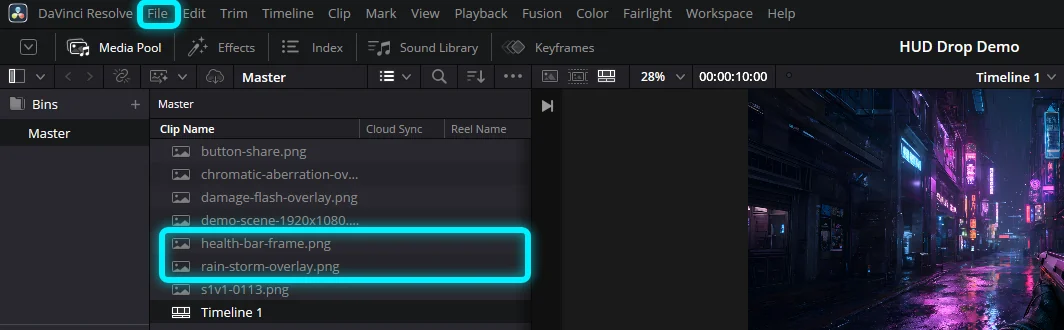
On the Edit page, choose File › Import › Media (Ctrl+I), or drag the PNG files from a folder into the Media Pool.
2. Put the frame on the track above your gameplay
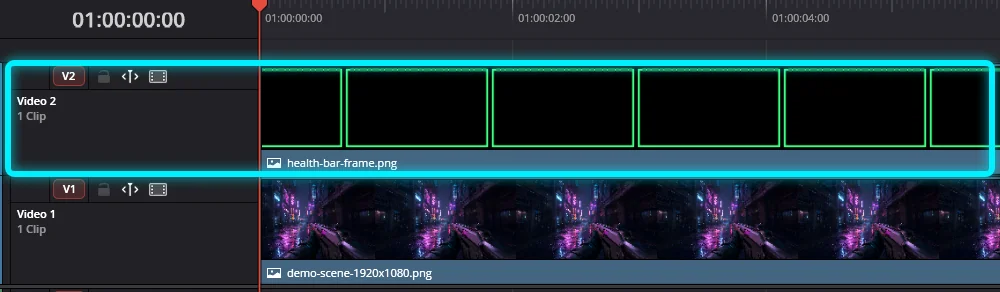
Keep your gameplay on V1 and drag the HUD frame onto V2, right above it. Higher tracks sit on top, so the frame covers the gameplay, and the empty parts of the PNG let it show through.
3. Make it last as long as your clip
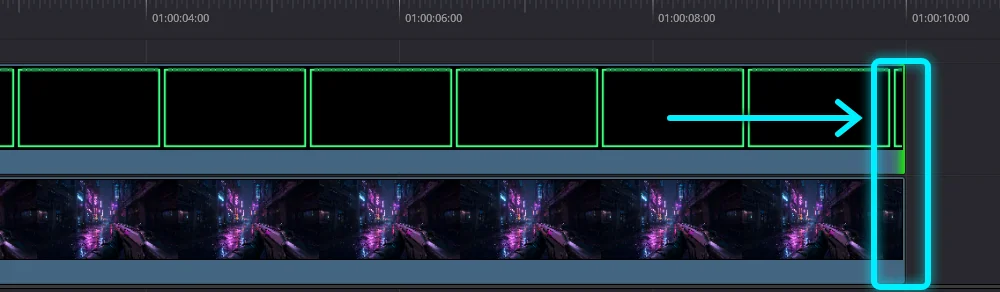
A still image lands on the timeline as a 5-second clip. Hover over its right edge until the trim cursor appears, then drag it out to the end of your gameplay.
4. Check the fit
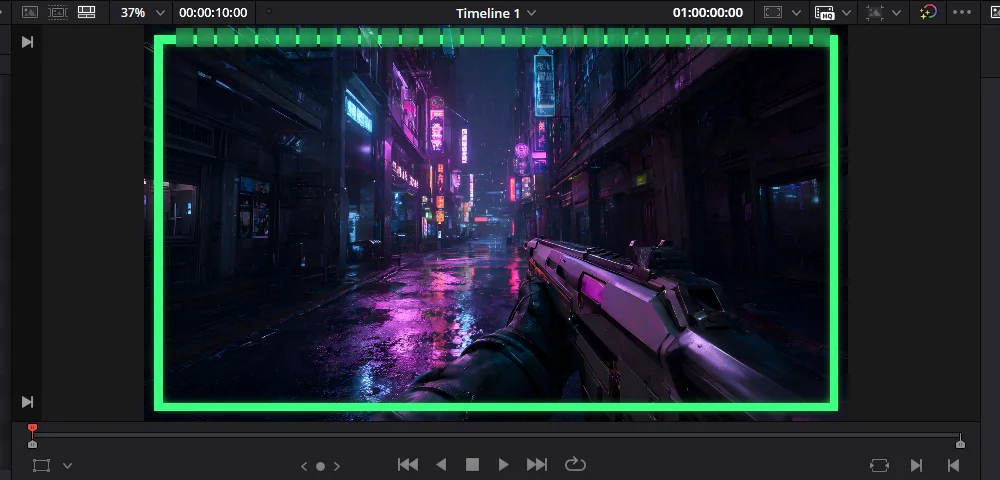
HUD Drop frames and overlays are 1920×1080, so they fill a 1080p timeline exactly. On a 4K timeline, Resolve's default image scaling, Scale entire image to fit, enlarges them to fill the frame for you, with no bars.
5. Soften effect overlays
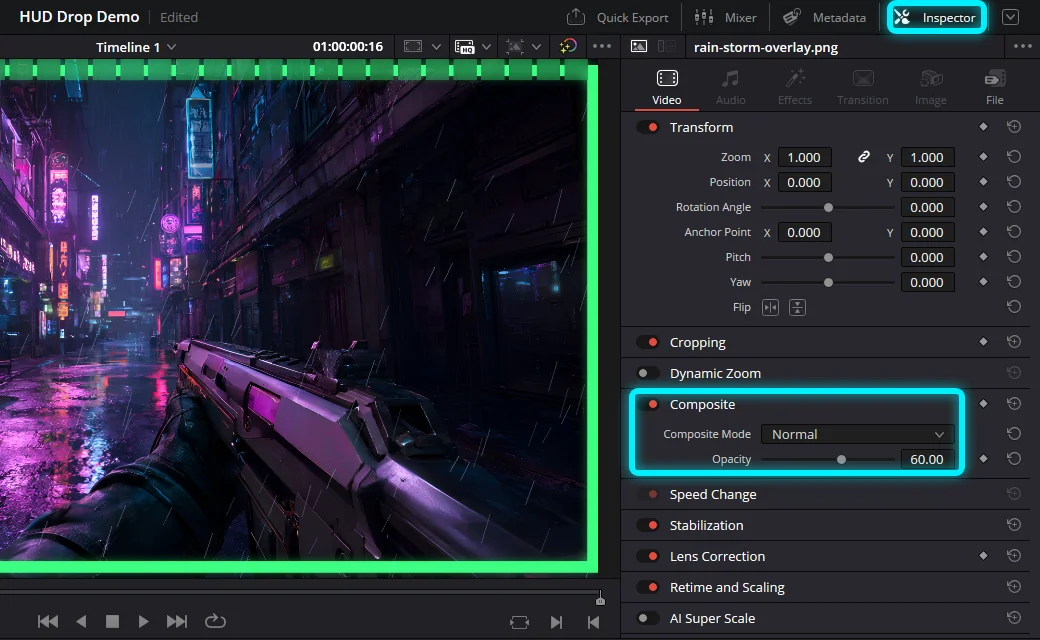
Effects like rain, VHS or film grain can be strong at full strength. Select the overlay clip, open the Inspector, and under Composite lower Opacity to 40–70%.
6. Stack a frame and an overlay
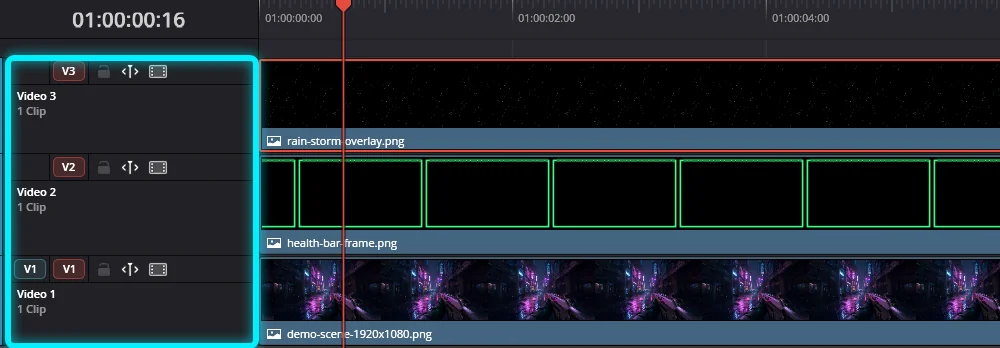
You can layer several PNGs: the frame on V2 and an effect overlay on V3. Each track adds a layer on top of the ones below it.
Common questions
Does this work in the free version of DaVinci Resolve?
Yes. Everything in this guide works in the free DaVinci Resolve 21.
Can I use HUD Drop assets in monetized videos?
Yes. They're free for monetized videos, streams and thumbnails, with no credit needed. See the license.
Why is my PNG's background black?
Resolve isn't reading its transparency. Right-click it in the Media Pool and choose Change Alpha Mode › Straight.
What about a 4K timeline?
Leave the default image scaling and Resolve enlarges the 1920×1080 PNG to fill 4K. Enlarged art is a touch softer, which is rarely noticeable on HUD lines.