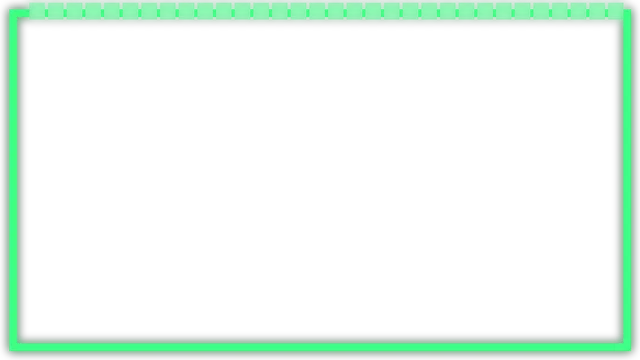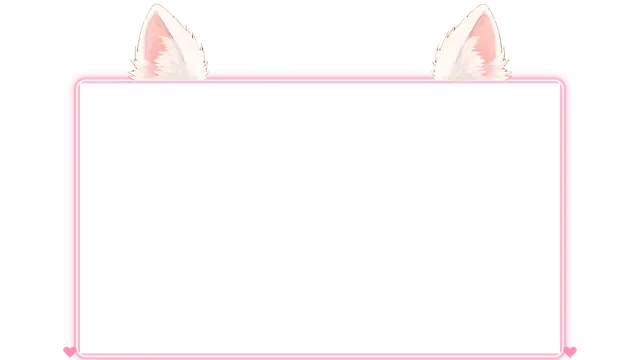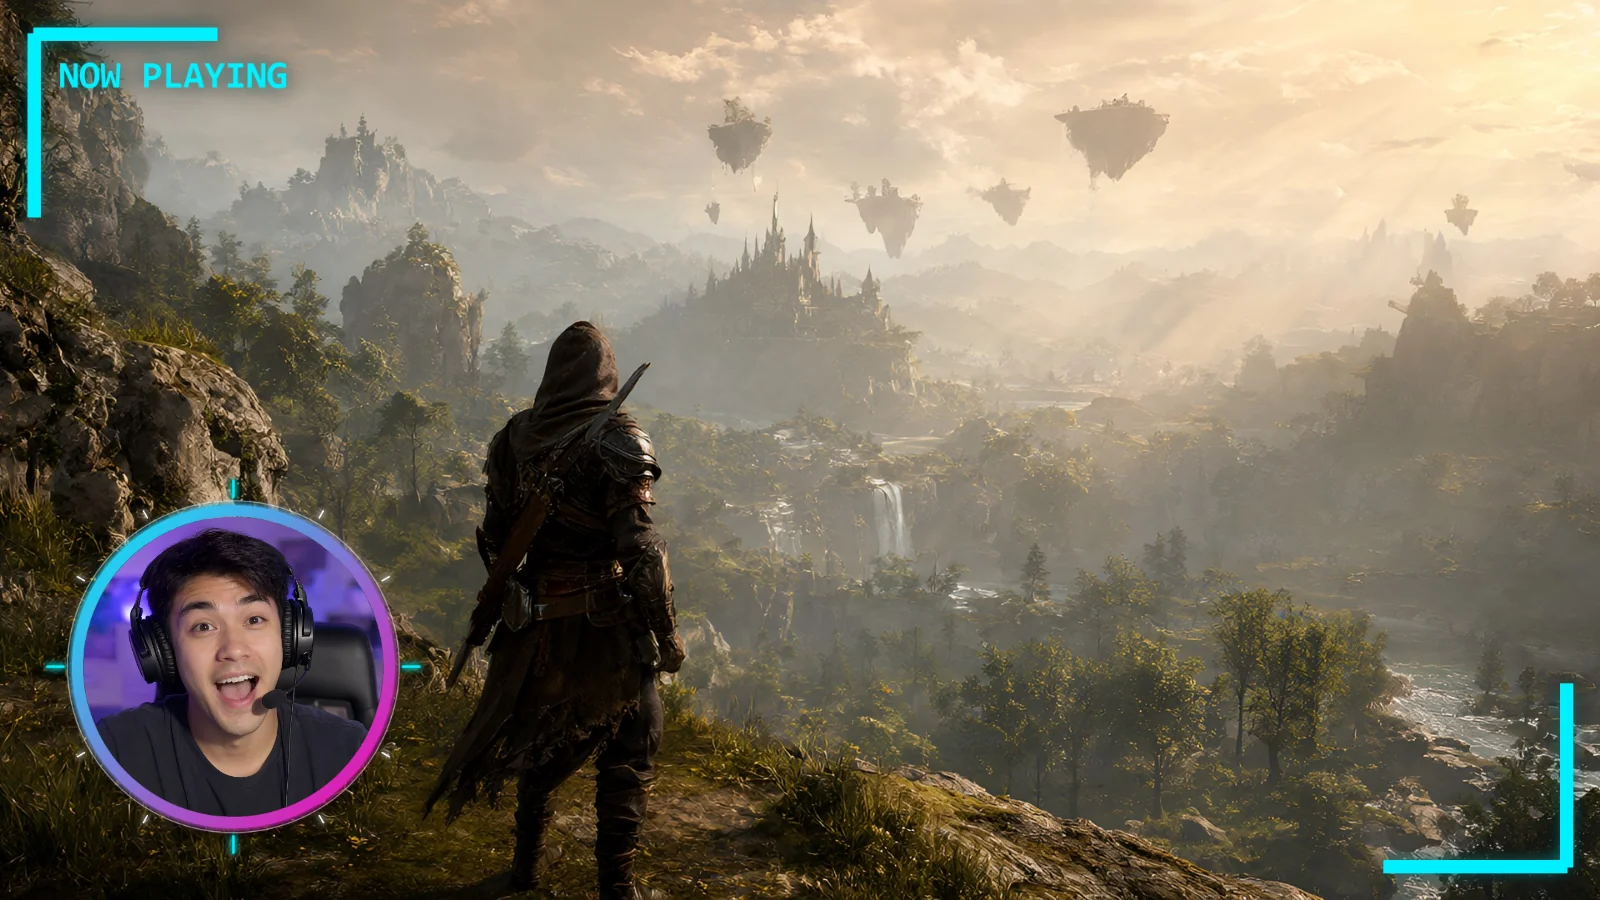
OBS Studio is free, and putting a HUD frame, an overlay effect or a webcam frame on your stream takes a few minutes. HUD Drop's PNGs are transparent, so your game shows through wherever the art is empty. The steps and screenshots are from OBS Studio 32.
Before you start
- OBS Studio, free for Windows, Mac and Linux from obsproject.com.
- A 1920×1080 canvas: in Settings › Video, set Base (Canvas) Resolution to 1920x1080. HUD Drop's frames and overlays are 1920×1080, so they fit it exactly.
- Your game and webcam already in the scene, as a Game Capture or Display Capture and a Video Capture Device.
- The PNGs from HUD Drop's free HUD Frames, Overlays and Webcam Frames.
1. Add the PNG as an Image source
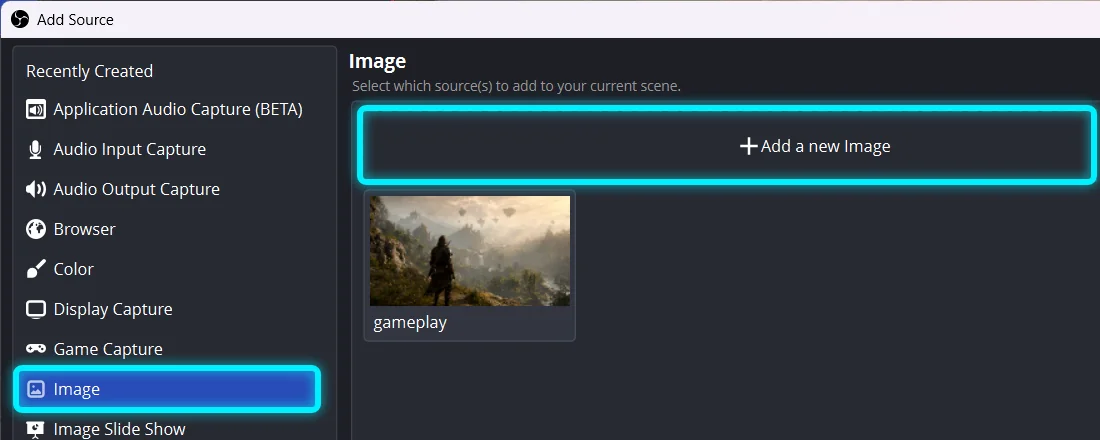
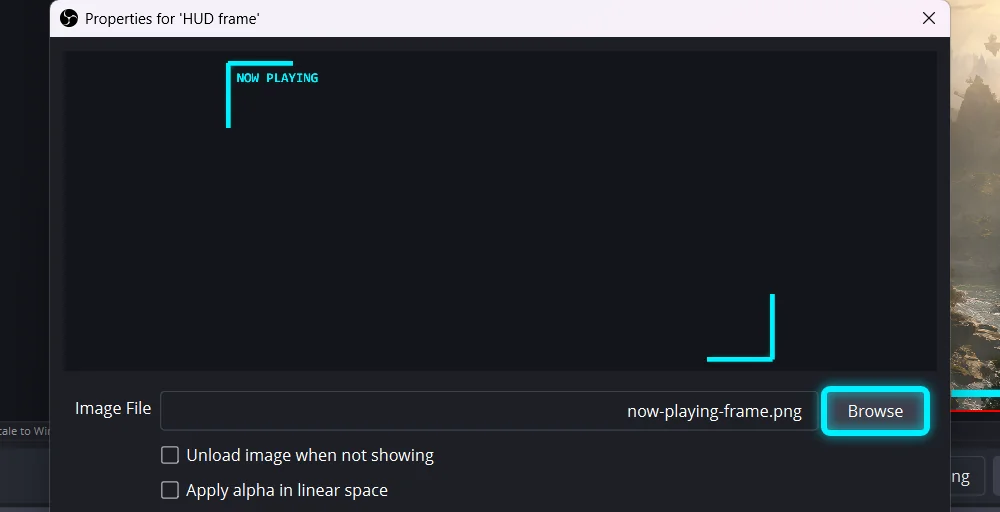
In the Sources box, click +. In the Add Source window, choose Image on the left, then click Add a new Image. In the Properties window that opens, click Browse, pick the PNG and click OK.
2. Give it a name
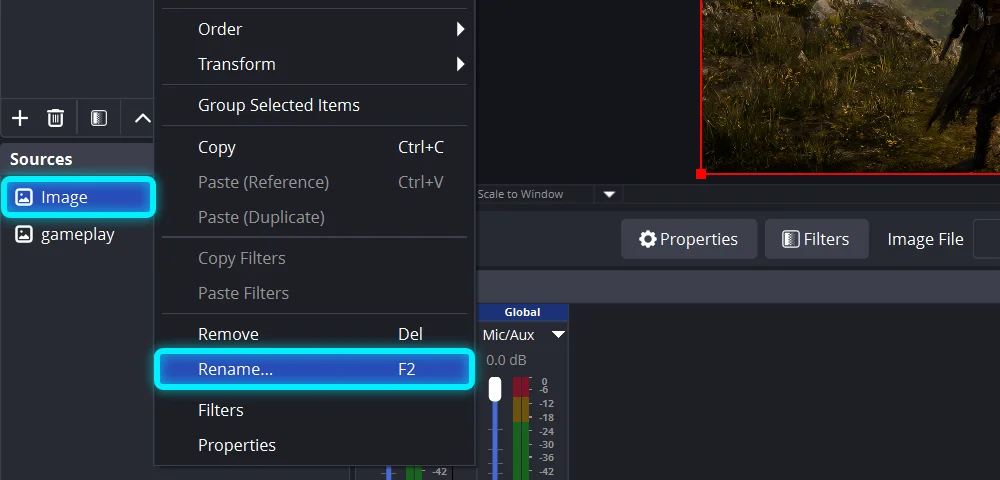
OBS calls every new image source Image. To tell them apart, right-click it in the Sources box and choose Rename…, or select it and press F2.
3. Keep it above your game
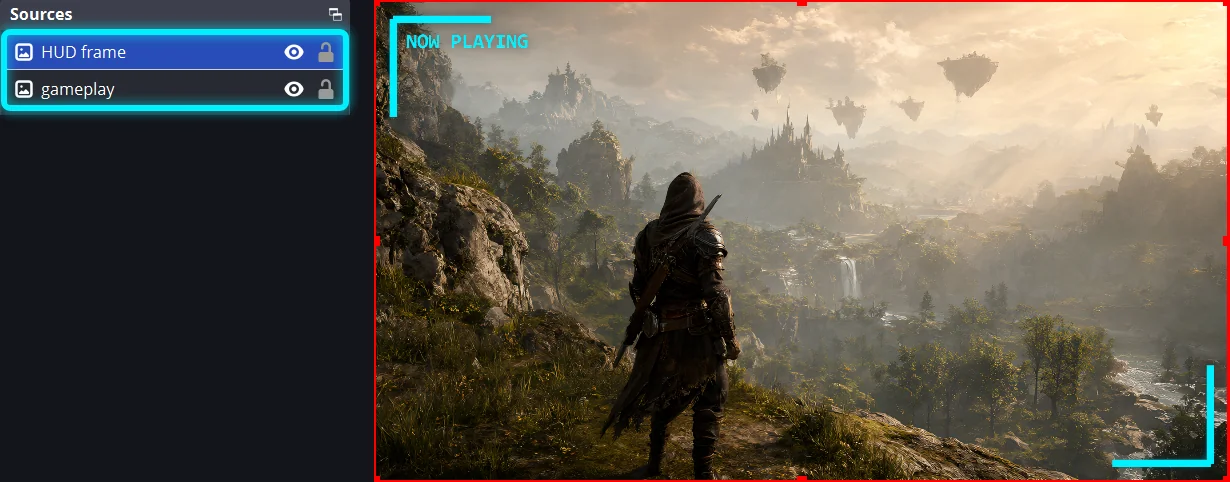
OBS stacks sources like layers: the top of the Sources list is in front. A new source lands at the top, so the frame already covers your game, and its empty parts let the game show through. Drag a source up or down the list to change the order.
4. Fit it to the screen
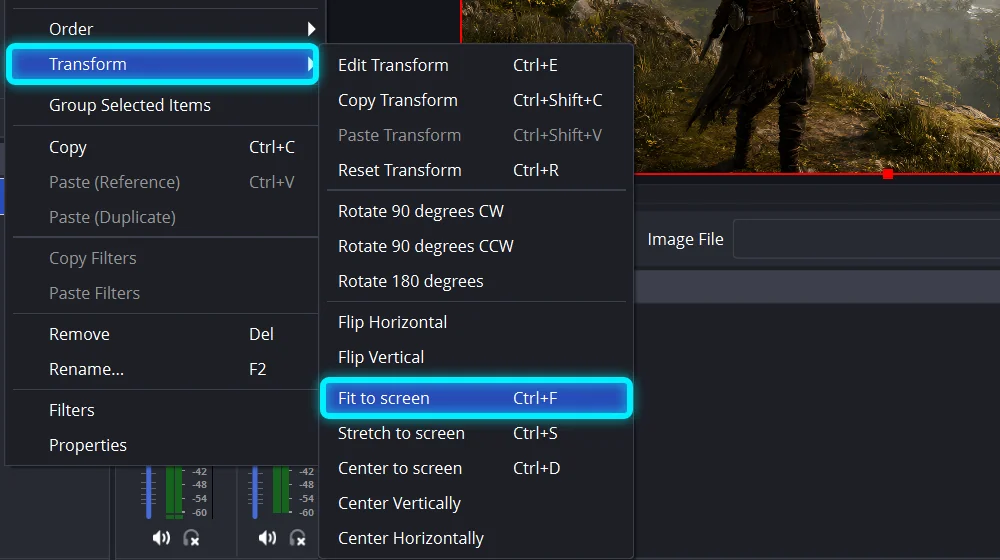
On a 1920×1080 canvas a HUD Drop frame fits exactly. If your canvas is a different size, or you've moved the frame by accident, right-click it and choose Transform › Fit to screen (Ctrl+F).
5. Soften an effect overlay
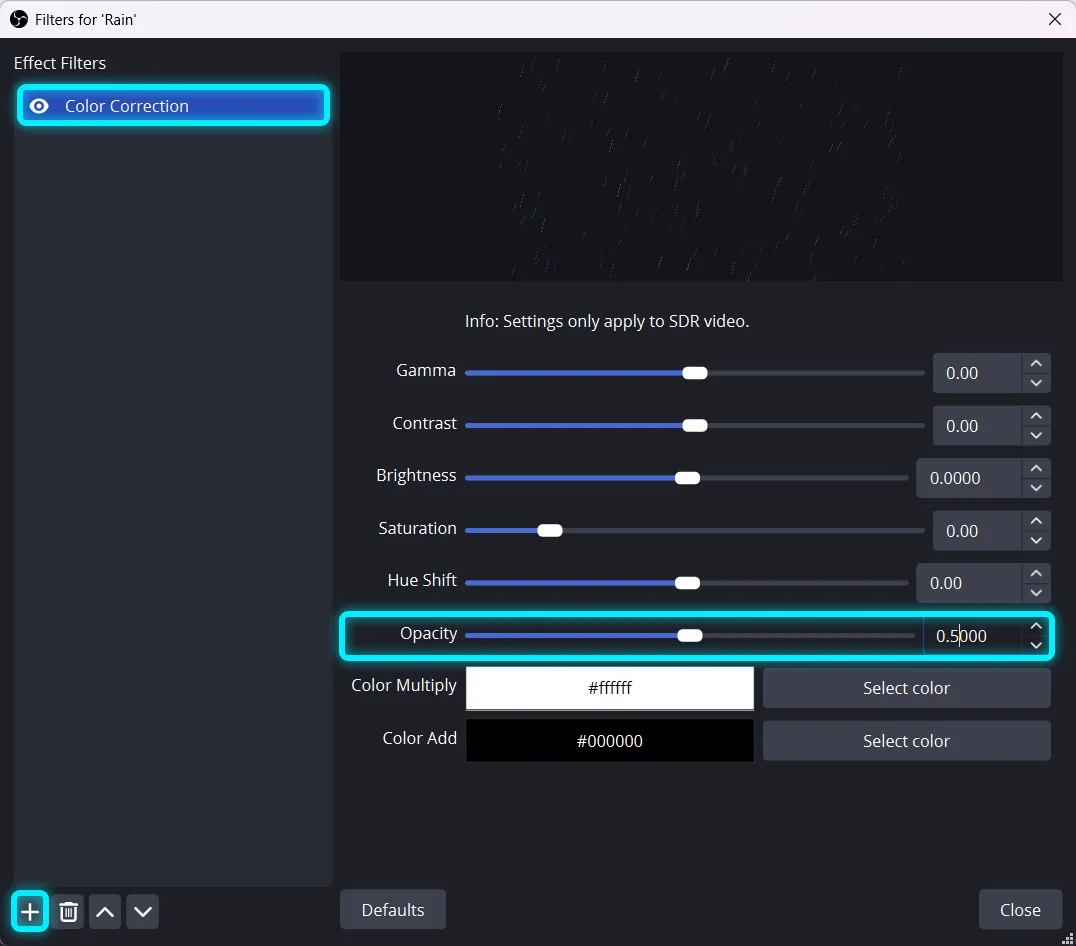
Effects like rain, film grain or VHS can be strong at full strength. Right-click the overlay, choose Filters, click + under Effect Filters and add Color Correction. Then lower Opacity. OBS counts it from 0 to 1, so 0.5 is 50%.
6. Put your webcam in a webcam frame
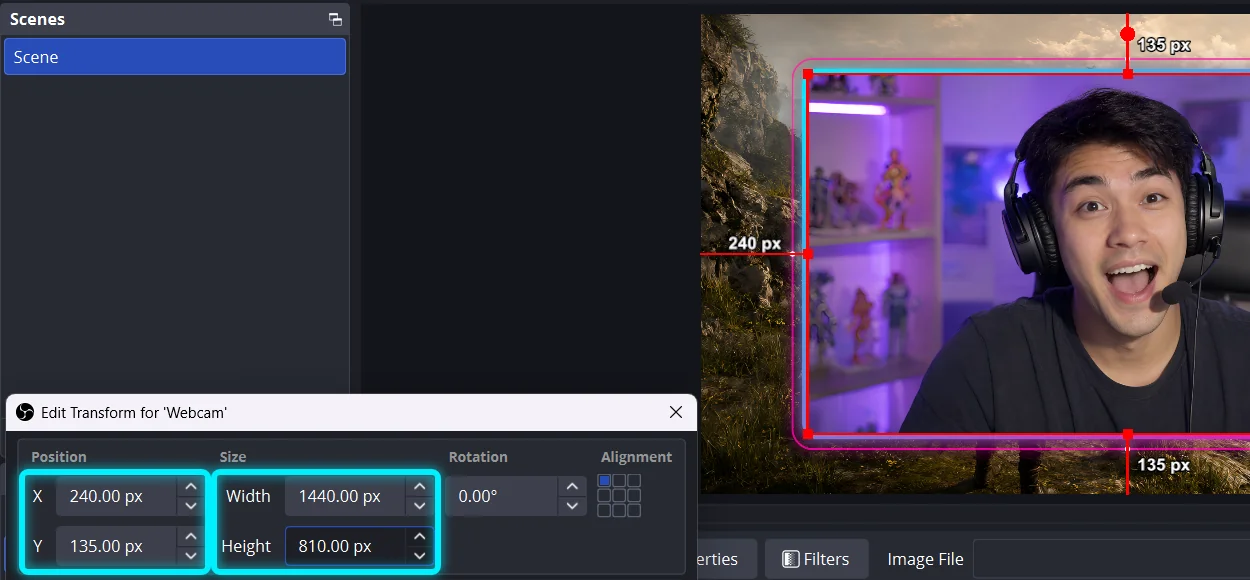
Add the webcam frame as an Image source above your Video Capture Device. Every 16:9 HUD Drop webcam frame has a 1440×810 hole. Right-click your webcam, choose Transform › Edit Transform (Ctrl+E), and set Width to 1440 and Height to 810. For a frame with a centered hole, like Neon Glow, set Position to X 240 and Y 135; for the others, drag the webcam into the hole.
7. Make a circle webcam
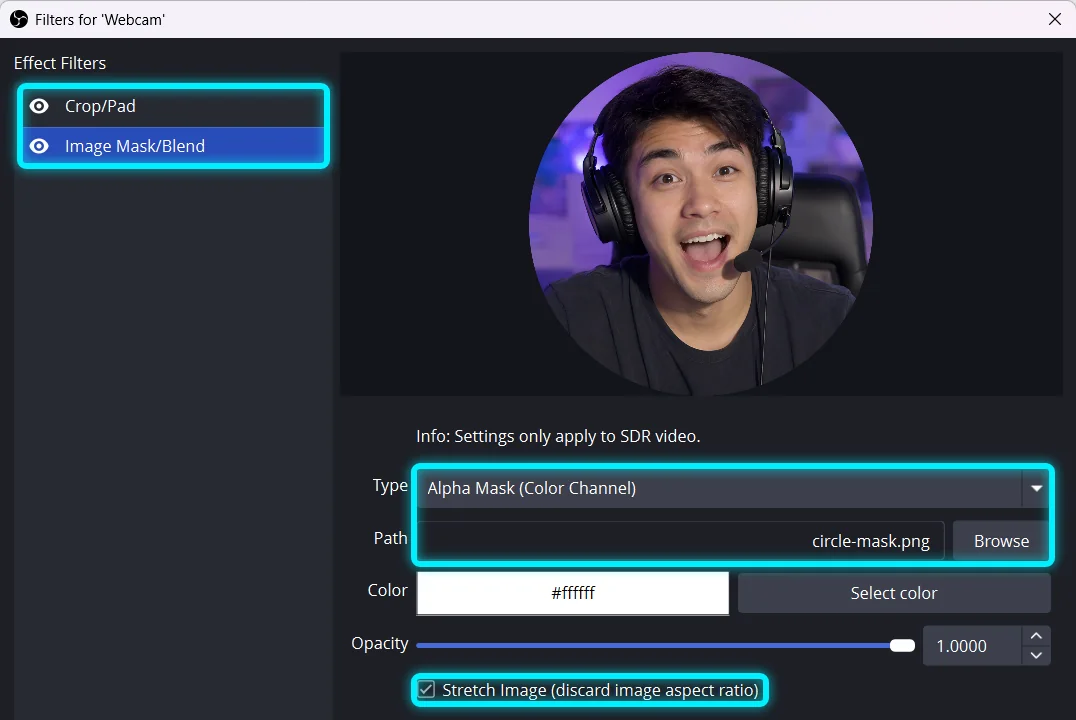
Circle frames need a round webcam. Right-click your webcam, choose Filters, and add two Effect Filters, in this order:
- Crop/Pad, to make the picture square: for a 1920×1080 webcam set Left and Right to 420 (for 1280×720, use 280).
- Image Mask/Blend: set Type to Alpha Mask (Color Channel), Path to
circle-mask.png(it comes with the webcam frames), and tick Stretch Image.
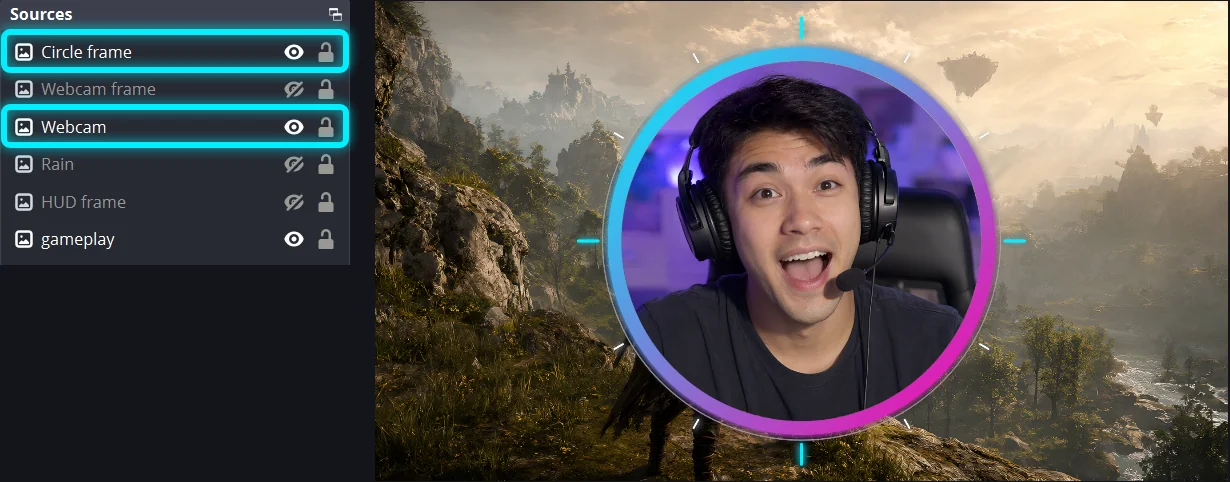
Then put the circle frame above the webcam and size the webcam to its hole. Circle frames are 1080×1080 with an 810×810 hole 135 px in from the top and left, so with the frame at Position 420, 0 the webcam goes at 555, 135 with Size 810 × 810.
Common questions
Is OBS Studio free?
Yes. It's free and open source, for Windows, Mac and Linux.
Can I use HUD Drop overlays on a monetized stream?
Yes. They're free for monetized videos, streams and thumbnails, with no credit needed. See the license.
Why does my frame look too small or cut off?
Your canvas isn't 1920×1080. Right-click the frame and choose Transform › Fit to screen (Ctrl+F), or set Settings › Video › Base (Canvas) Resolution to 1920x1080.
Why is my round webcam an oval?
The mask stretches to the webcam's shape, so crop the webcam to a square with Crop/Pad first, and keep Crop/Pad above Image Mask/Blend in the filter list.